|
Area51 Project - Mike's 1998 Foreman 450s:
Machine Specs: 1998 Honda Foreman 450s (original owner) 450cc Oil/Air Cooled Single Cylinder 4 stroke 5 Speed Manual Shift Transmission
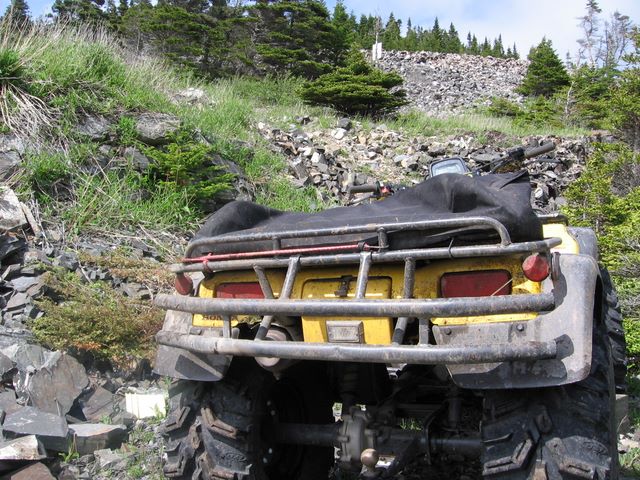
- Custom Rear Bumper,
designed and fabricated by me
(Project Below) - New 27" ITP MudLite XTR Radial Tires, on ITP Delta 12" Steel Wheels
- Custom fitted 2001 Rubicon Clear Lens Headlights
- RAM Mount mounting system
for Garmin 62s GPS & GoPro - Quadrax Front Disc Brake Kit (Project Below) - Painted Engine Black with 900 degree High Heat Paint (See 2009 Repairs) - Full MoonShine-Harvest Moon Camouflage Wrap (Project Below) - Removable Kolpin Gun Boot - Armor Tec Ring Gear - Rear Differential (See 2012 Repairs) - Perfex 1.5" Lift Kit (See 2012 Repairs) - Heat Demon Heated Grip & Thumb Warmer Kit (See 2013 Repairs) MBRP 6000 Series Exhaust (See 2015 Repairs) NL Light Bars 12" spot/hyperflood LED Light Bar (Project Below) Project Pages:
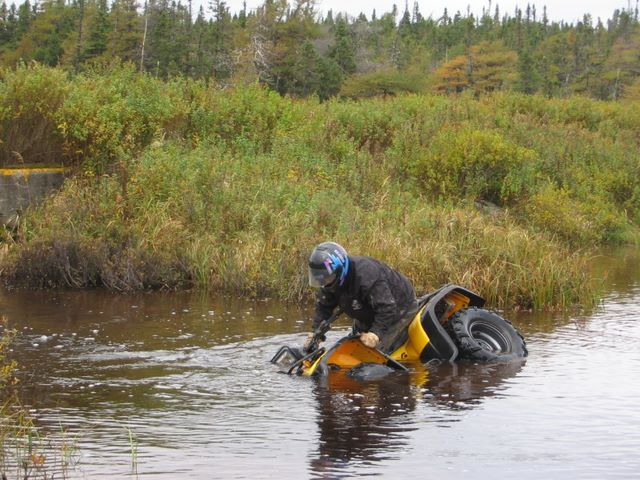
October 2018: Project Foreman officially turned 20 years old this month! I'm surprised and at the same time not surprised that I still own and love this awesome ATV after 2 decades and 14,000km of riding. Its been a fantastic bike, project, toy and workhorse. This bike has been well used over the years and received a ton of upgrades along with lots of necessary maintenance and repairs as seen in the project pages above. Thanks to Terry, Q, and the fantastic crew at Honda One in Mount Pearl for keeping me and Project Foreman going in parts and accessories for 20 years!
Project Summary:
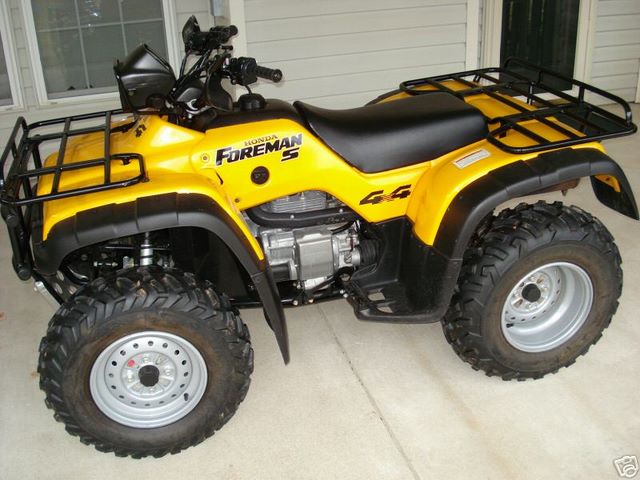
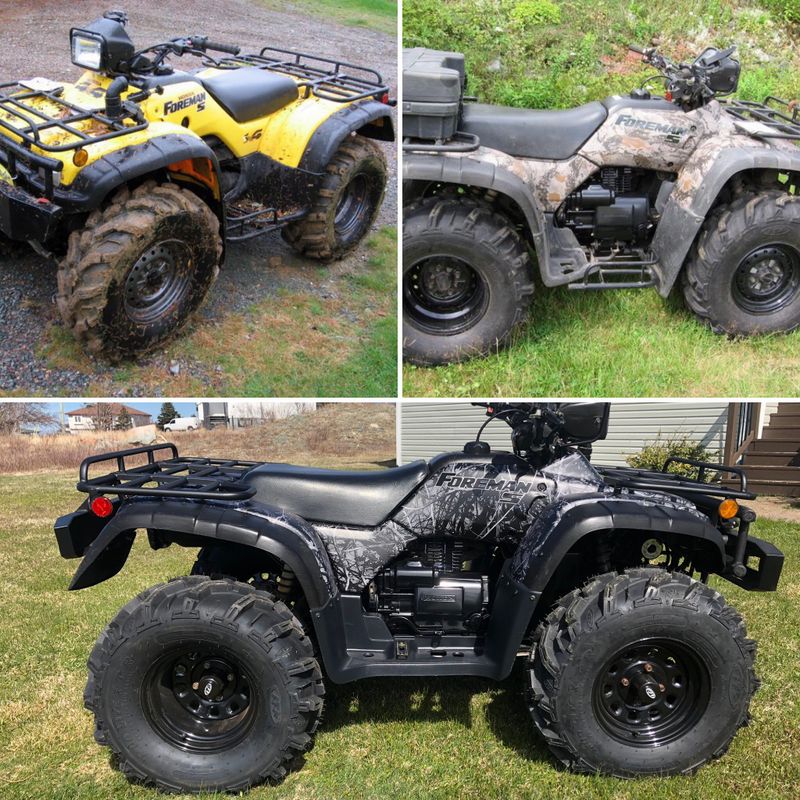
1998 stock bike vs 2018 I bought my 1998 Foreman 450s brand new in the fall of 1998, it was my first purchase of any brand new vehicle. I shopped around and researched bikes for a long time and finally settled on the Foreman due to its good name and the great service I received at Honda One in Mount Pearl. 1998 was the first year for the 450, it was a step up from the Foreman 400 and at the time was the biggest bike made by Honda. I completed the deal which included front & rear tubular bumpers, foot peg extensions and a Warn 2000lb winch. When I got home I put together a small tool kit and a tire repair kit, all necessary things for trail riding! My first ride was on Northern Pond Road, dad took the Argo and my younger brother rode our 1972 Honda 50 trail bike. I was hooked right away!!!
2006 vs 2009 vs 2019
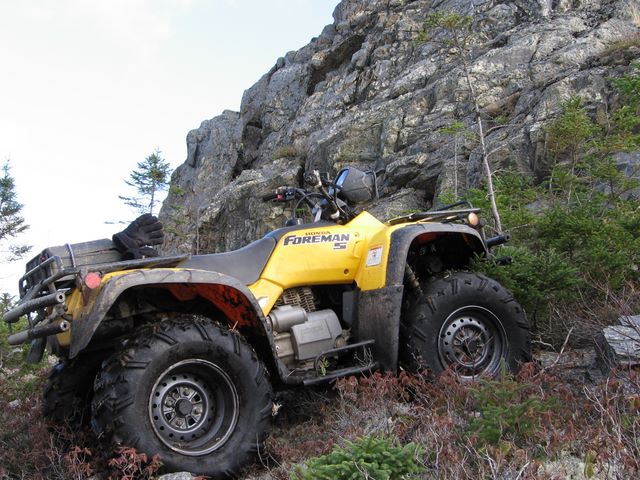
After riding for a little over a year, my first modification was swapping out the crappy, soft, puncture prone 25" Dunlop tires for these 27x10x12 front & 27x12x12 rear ITP Blackwater XT's in 2000. These tires were a huge improvement over stock. The taller size gave me more ground clearance, they were 6ply vs. stock 2ply for better puncture resistance, and the aggressive 1.25" tread got the bike through mud & bog with ease.
Soon after I picked up a WARN 424 kit, which replaces the front drive shaft with once that can disconnect via a cable operated handle. This allows you to switch from 4wd to 2wd on the fly. Two wheel drive mode made steering lighter and the bike a lot more fun to ride on the trails. Follow the WARN 424 shifter link for more info in installation & rebuilding that unit. That year I also upgraded the crappy glass headlights with brand new clear lens lights as found on the 2001 Honda Rubicons.
In 2004 I ordered a front differential locker from Highlifter to replace the worn out stock limited slip differential. At the time there were two types of lockers available for this bike, the first was a Detroit Locker which automatically locks when you need traction then unlocks to provide light steering. This is a great option, but was pretty expensive and had wearable parts. I opted for the Highlifter spool style locker which permanently locks the front differential for true 4wd power to all wheels. At $35 plus shipping it was a great bargain! Installation was straightforward following the included instructions, and the unit still works flawlessly. It does make steering heavier while trail riding at slow speeds, especially in 4wd or on pavement, but its barely noticeable when operating in 2wd (via my WARN 424 selector), or on loose surfaces. Traction in tangly spots is much better, the biggest difference is when you cross ditches on an angle. Usually one front tire is in the ditch, and the other spinning uselessly in the air. With this locker, both front wheels receive equal power so the bottom tire with lots of traction hooks in an pulls the bike through. Traction is also much better in the mud & snow as your not pulling a dead front wheel around all the time.
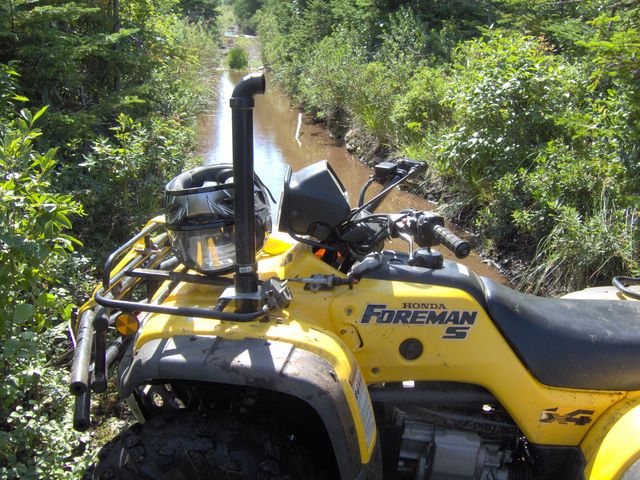
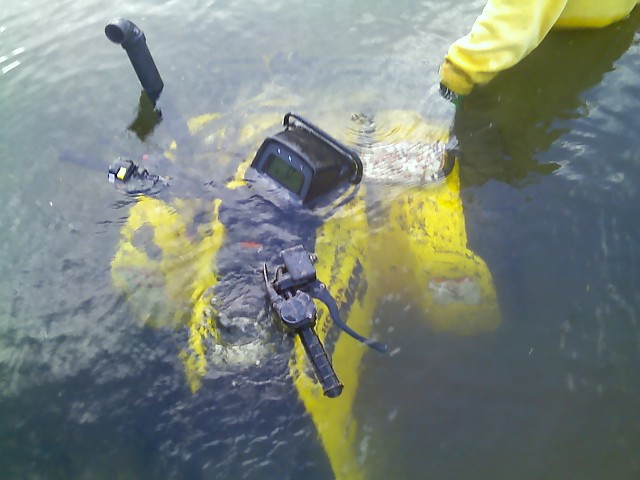
Fall 2005: I custom fabricated a full engine intake snorkel with swappable high and low pipes for trail riding vs deep water crossings. I had a K&N air filter installed for awhile but later changed it out for a UNI high flow foam filter for better protection against fine dust particles.
In 2006 I replaced the well worn Blackwater XT's with a set of 27x9x12 front & 27x11x12 rear ITP Mud Lite XTR Radial tires. The XTR's are quite a few steps above the standard (and popular) Mud Lite, and feature a more aggressive tread and radial construction for fantastic handling. (Link: ATV Tire Review)
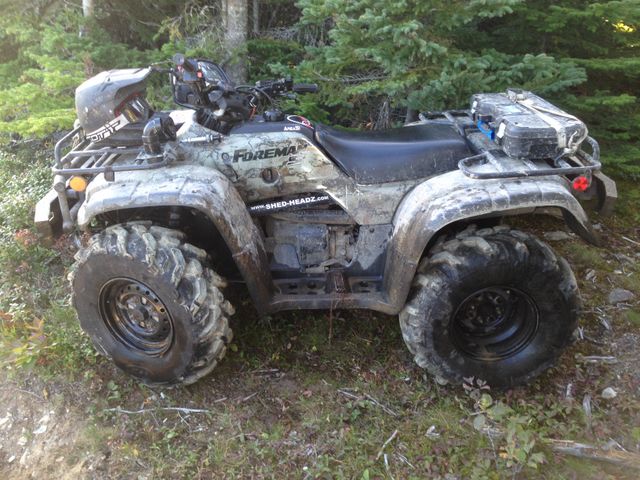
After that the bike is better detailed in the pages listed below. I've fabricated custom front & rear bumpers, installed front disc brakes, a full camouflage wrap, replaced the winch, installed a Ricochet skid plate kit, performed a major inspection and repairs in 2008 and continued with repairs and maintenance in subsequent years. Cheers, MIKE
Project Pages:
Copyright © 2011 Michael Smith
|
 20th
Anniversary Special - 20 years of awesome rides.
20th
Anniversary Special - 20 years of awesome rides.