|
Area51 Project 6x6 - Drive Chain Replacement: |
|
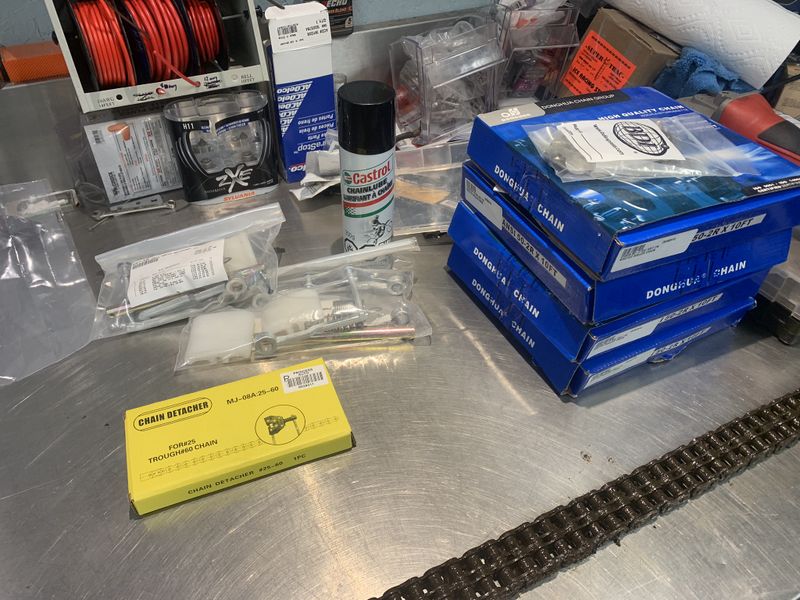
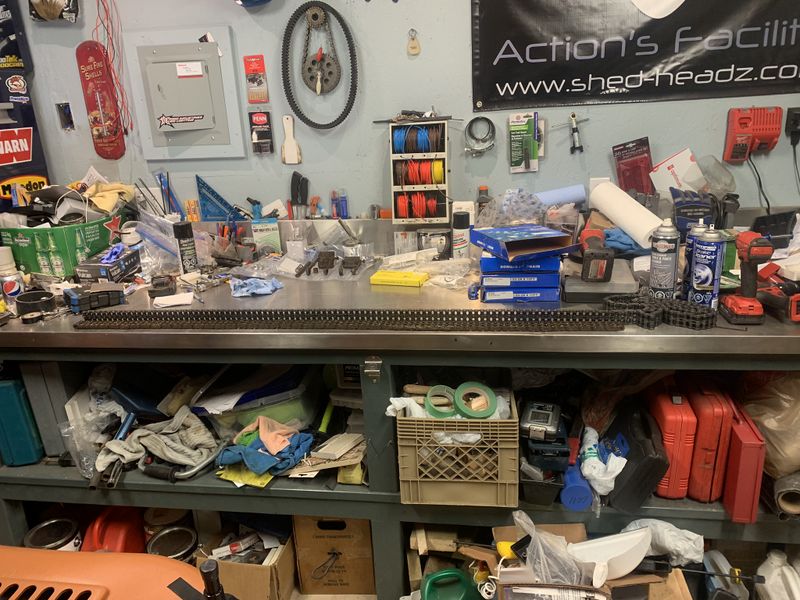
Purchasing new drive chains for an Argo can be a fairly expensive endeavor. However after extensive research and reading on various grades, chain quality and my intended use for this machine I settled on China chain purchased by the box in 10' lengths from my local BDI store. The key to cheaper chain is to lubricate them often, if your machine is going to see a lot of harder use BDI can supply high quality and much more expensive chain. I needed one box of #40 double roller chain for the Idlers (transmission to idler shaft) and 3 boxes of #50 double roller chain for the rest, total investment including extra master links was under $200. Eight wheel Argo's will need one more box of chain.
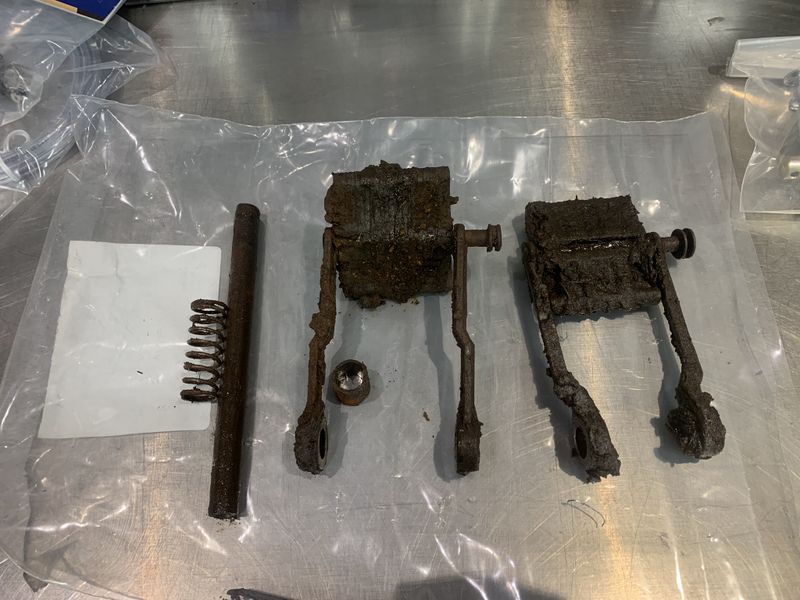
My local dealer had replacement chain tensioners packaged as a kit and on sale for about $50 each. My machine had the large outer spring missing, Teflon pads well worn and most of the aluminum arms bent so I picked up 4 of these kits to replace all tensioners on the machine.
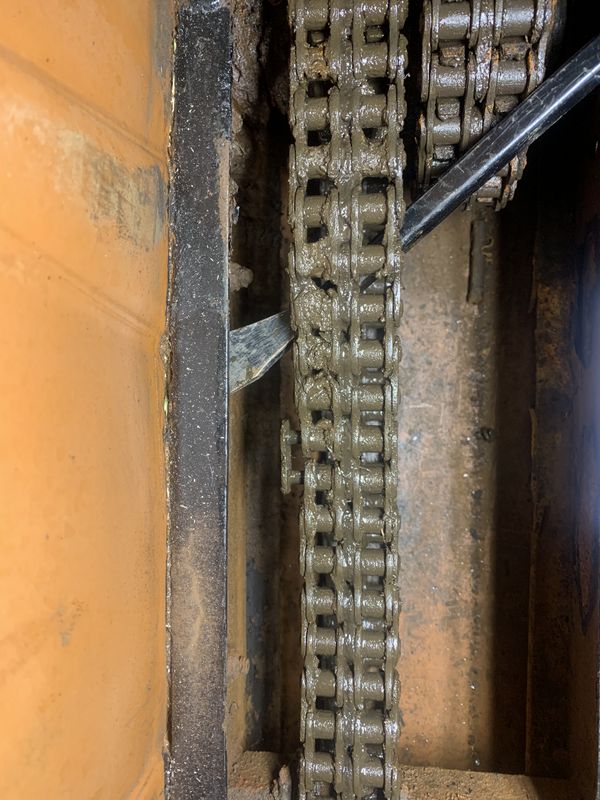
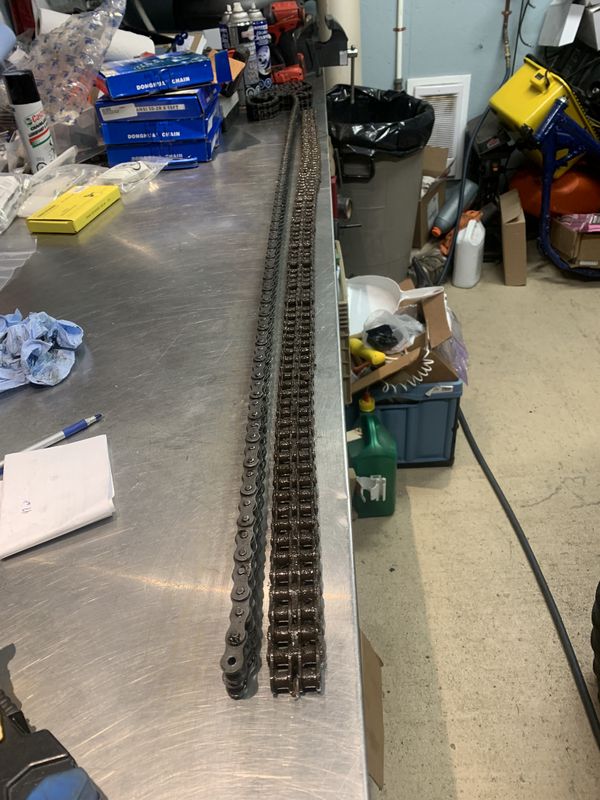
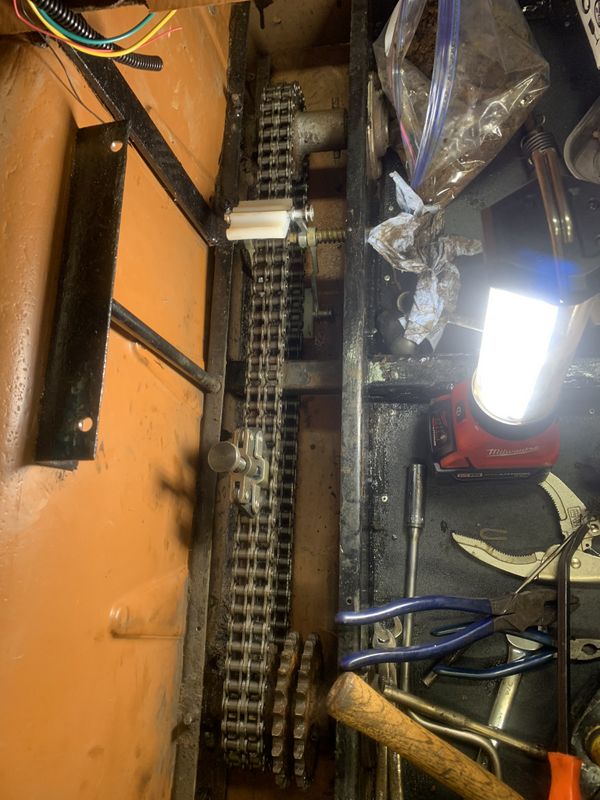
Despite having been rusty as hell when I got the machine, I was surprised to have been able to remove the old master link to take off most of the old chains without cutting!
The old chains were laid out on the bench and I counted the number of pivot pins in each piece to ensure I cut the new chains to the right length. The old chains were well stretched (over 1" on the long rear chains) so I couldn't go by length as a measurement but number of links was an accurate way to determine correct length.
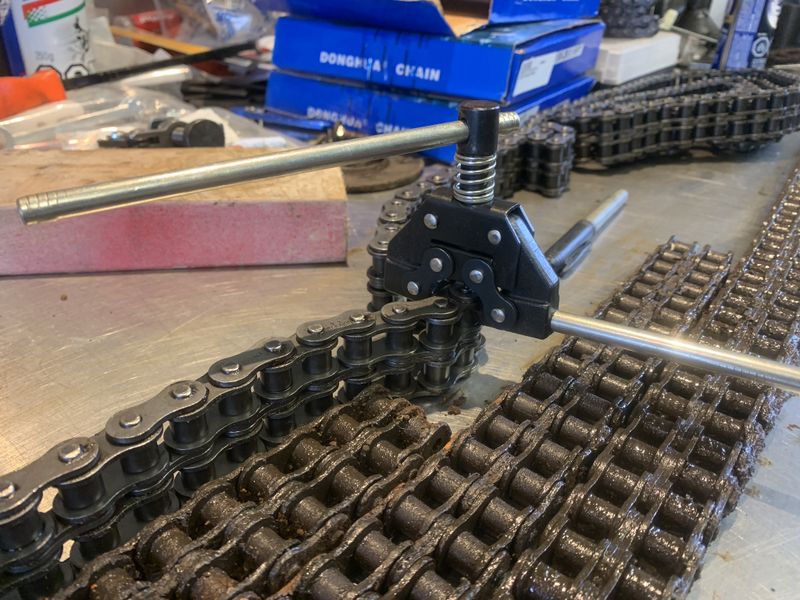
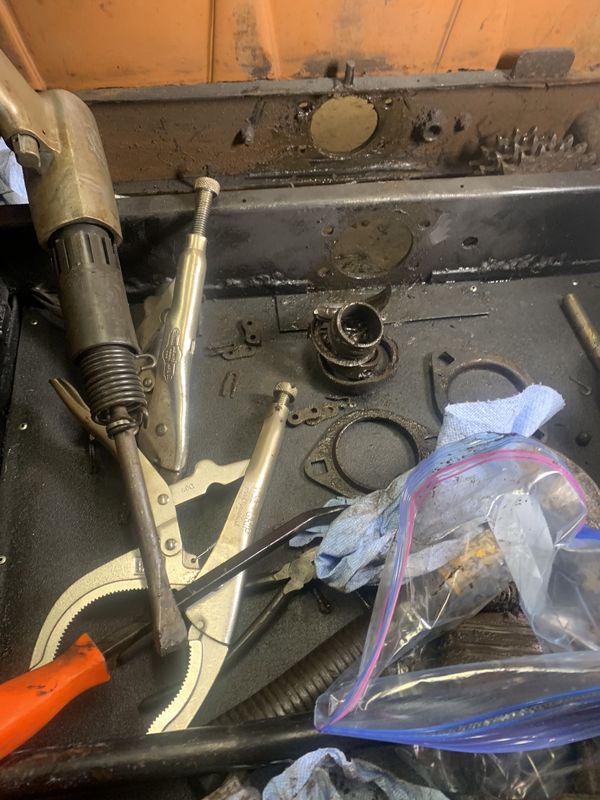
I picked up this chain breaking tool at Princess Auto and it worked very well for removing the pins to cut chain to correct length. As this is double roller chain I had to pres the pin through the outer link, swing the top end out of the way then press the pin though the double middle links. I used a round punch to remove the pins the rest of the way to successfully and easily break each chain.
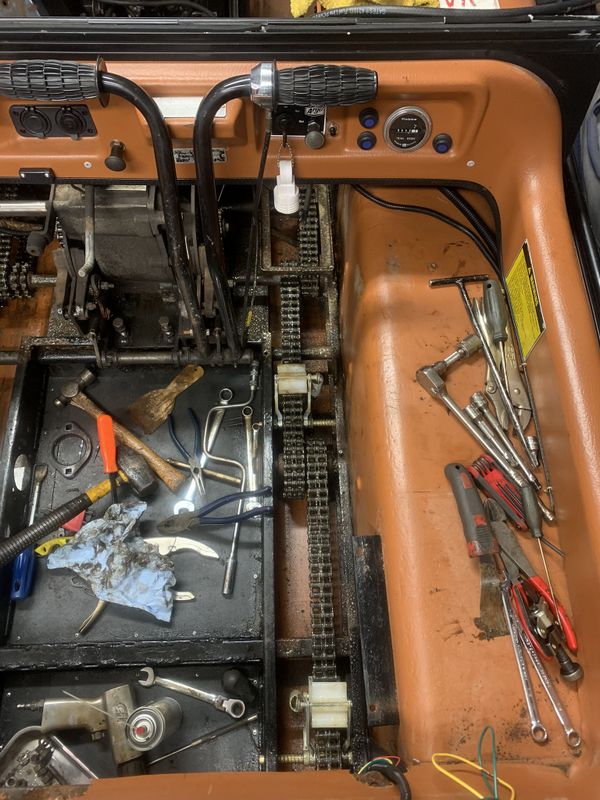
Getting the rest of the chains removed was just more of the same procedure.
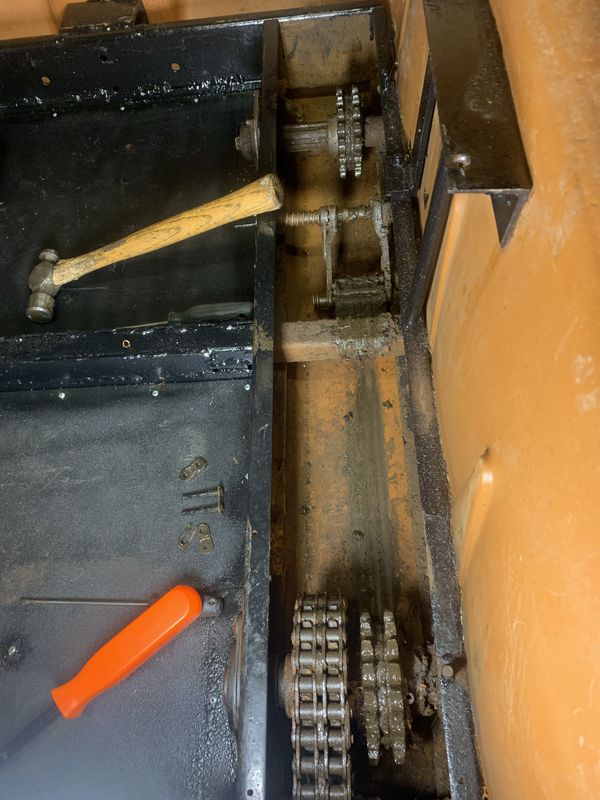
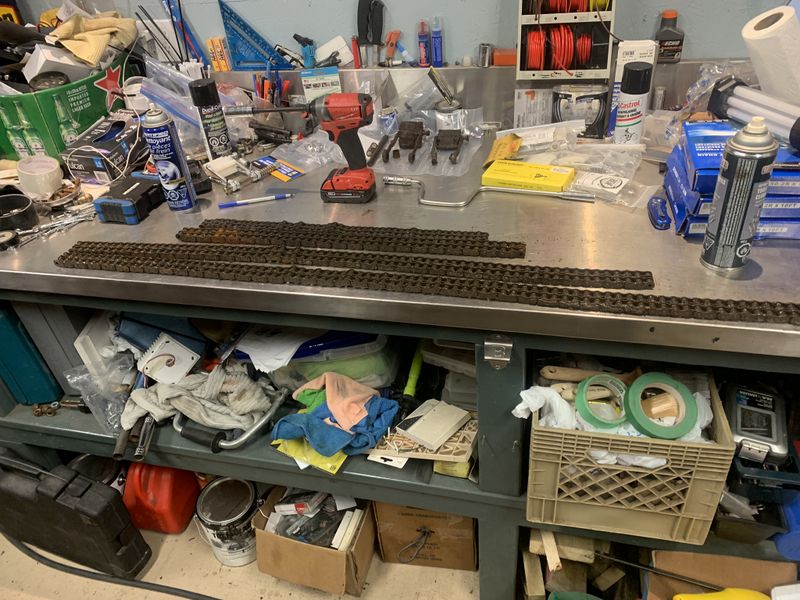
I removed all the chains from the left side and got all my chain link counts complete and recorded on paper so I could move the messy parts out of the way.
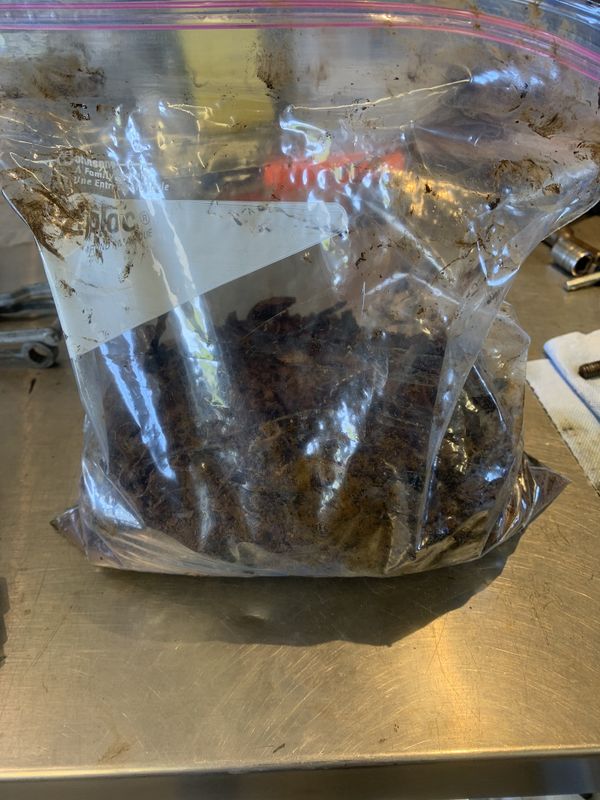
This is the bag of crap I managed to scrape out of the bottom of the machine once chains were removed. 30 years worth of grease, mud, twigs and who knows what else nearly filled a large zip lock bag! I then thoroughly cleaned the bottom of the machine with degreaser to ensure I didn't pickup any dirt while installing brand new chains.
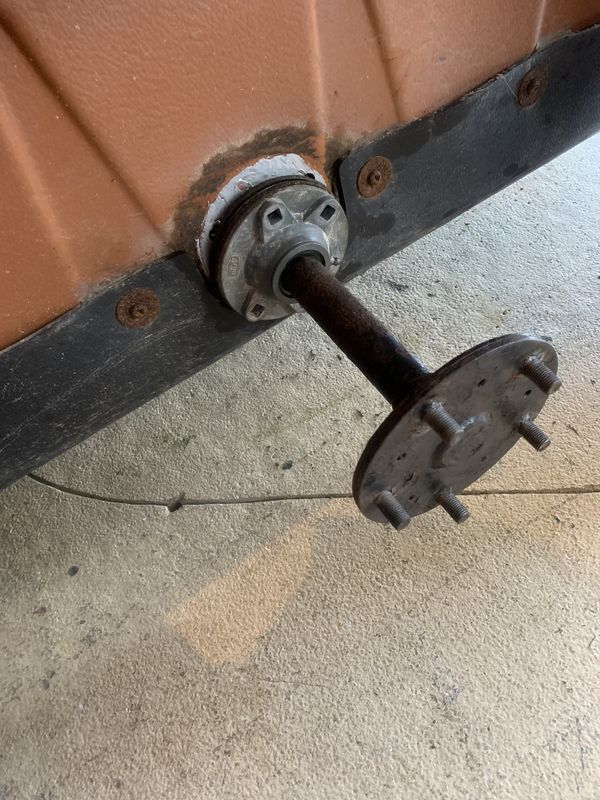
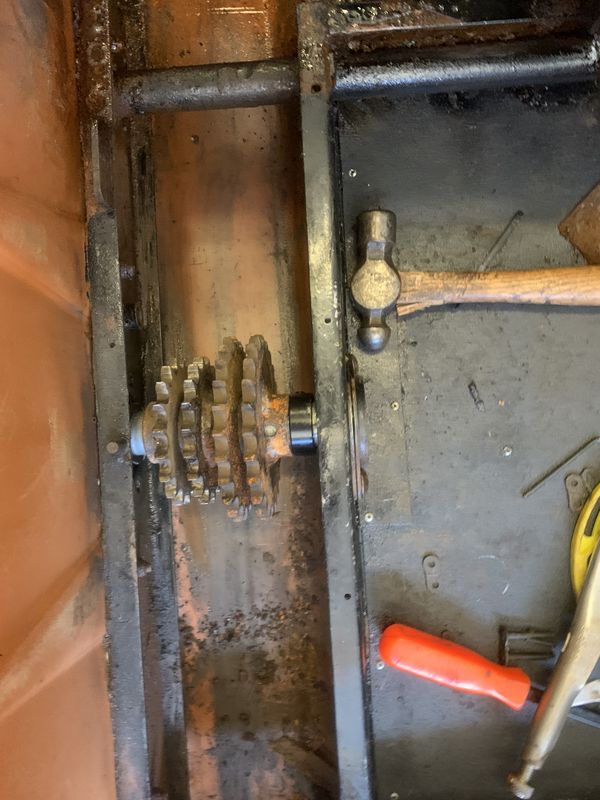
I inspected all of the axle bearings, the rear ones were great, I tightened the lock collar on the front but the middle bearings were loose and rough so they had to be replaced. To remove the axel you have to remove the shear pins holding the sprocket, then loosen 2 hex set screws on the 2 bearing locking rings (one on outer bearing, one on the inner bearing), remove the 4 outside bolts and two inside bolts that attached the bearing holders to the chassis.
Unfortunately water had been in this machine for a period of time which caused the inner bearing race to seized onto the shaft. I delicately used my angle grinder then Dremmel tool to split and remove the inner races so the shaft could be pulled out of the machine. This is necessary as the sprocket needs to be able to slide off the axel shaft as you remove it from the machine.
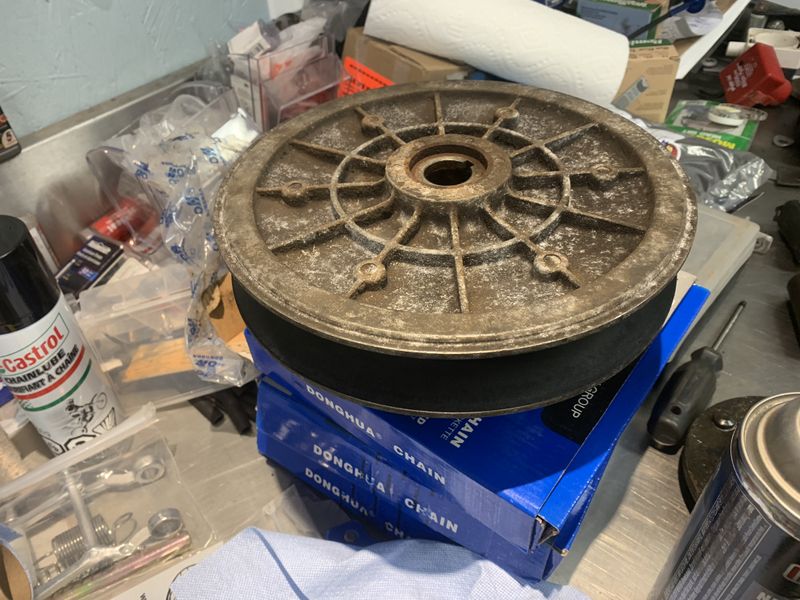
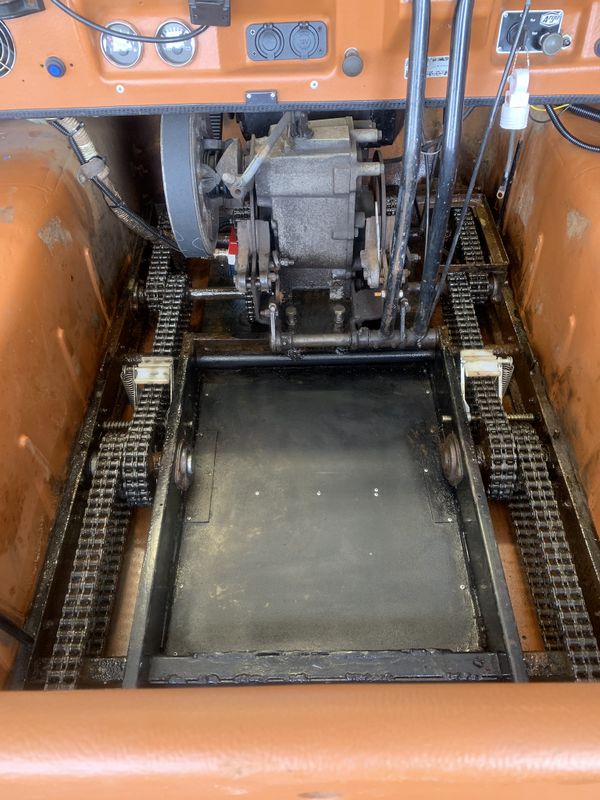
Next I removed the secondary clutch to make access to the left idler chain much easier and to perform a cleaning and service.
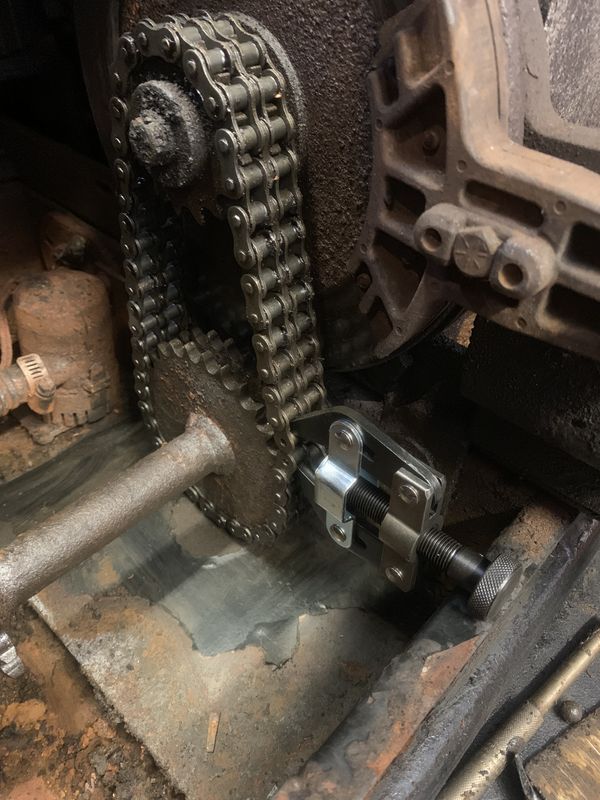
Next I could finally begin reinstalling chain starting with the idlers. I picked up this chain tool again at Princess Auto which grabs the two ends of chain and pulls them together holding them steady while you install the master link. The adjustment wheel lets you set the chain perfectly so the master link slides in with ease, especially important with double roller chain which has 2 middle joiner links in addition to the single outside joiners to install.
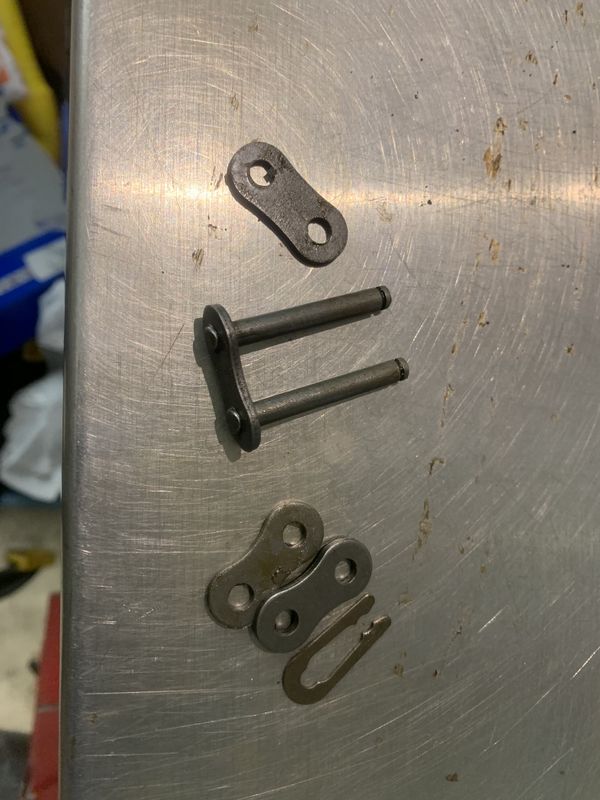
The locking clips were installed so they cant be knocked out of place while machine is driving forward.
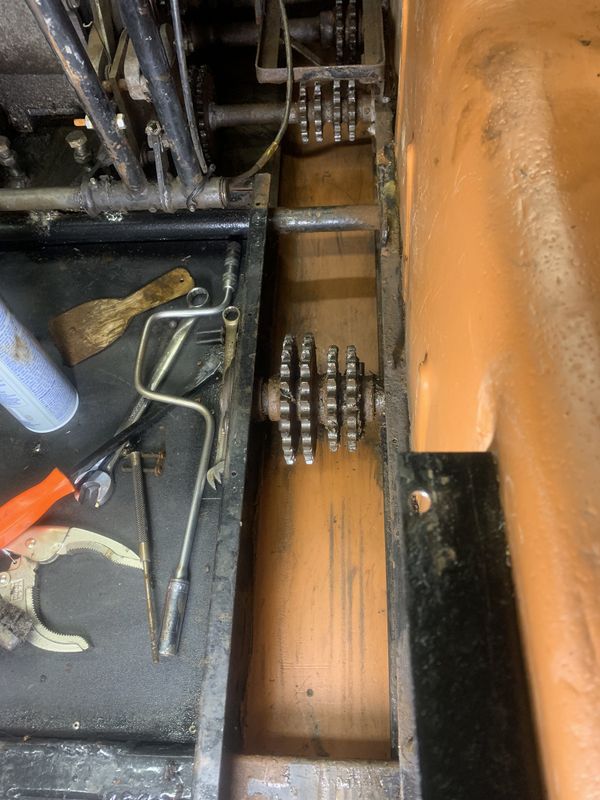
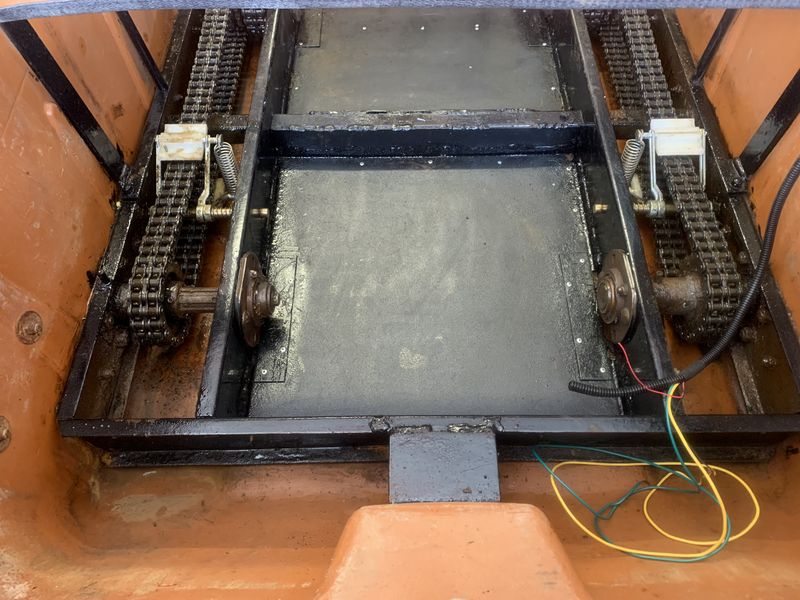
Right side cleaned and ready for new chain.
When installing the rest of the chains the wheels should be raised off the ground and supported so they can be turned while installing the new chains. I installed my tensioners first leaving off the tension spring so the arms could move freely and not impede joining the new chain. Again my trusty chain clamping tool made the job pretty easy!
Master link in place and tensioner fully assembled.
The last step on the right side was to turn over the tires to spin the chains while applying lubricant. My local dealer recommended Castrol Chain Lubricant so I that is what I bought from them and used.
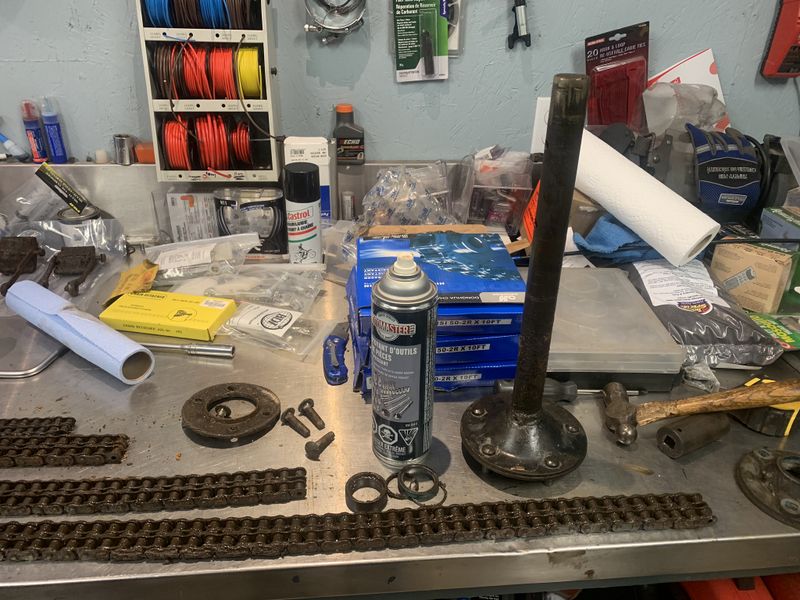
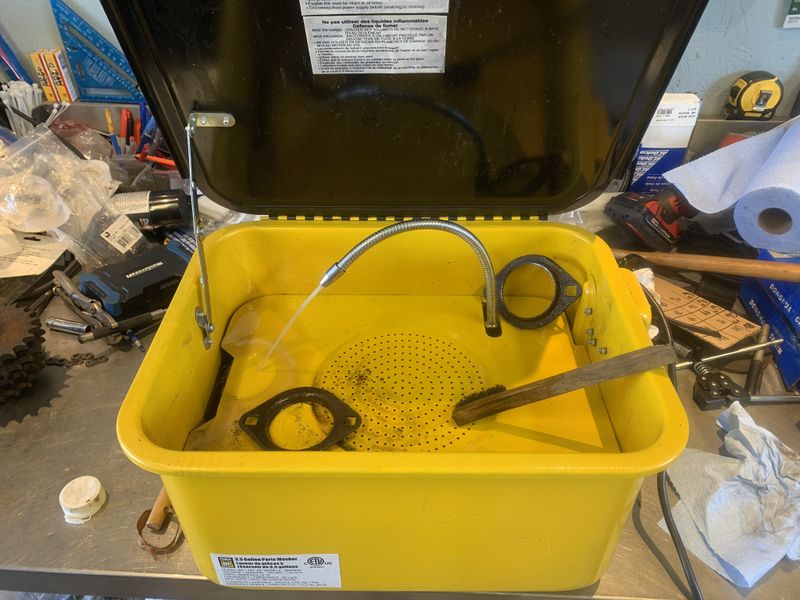
Next up was installing new wheel bearings & seals on the left centre axel which I ordered again through BDI as it was much cheaper than the dealer. Step one was cleaning all parts thoroughly in my trusty parts washer.
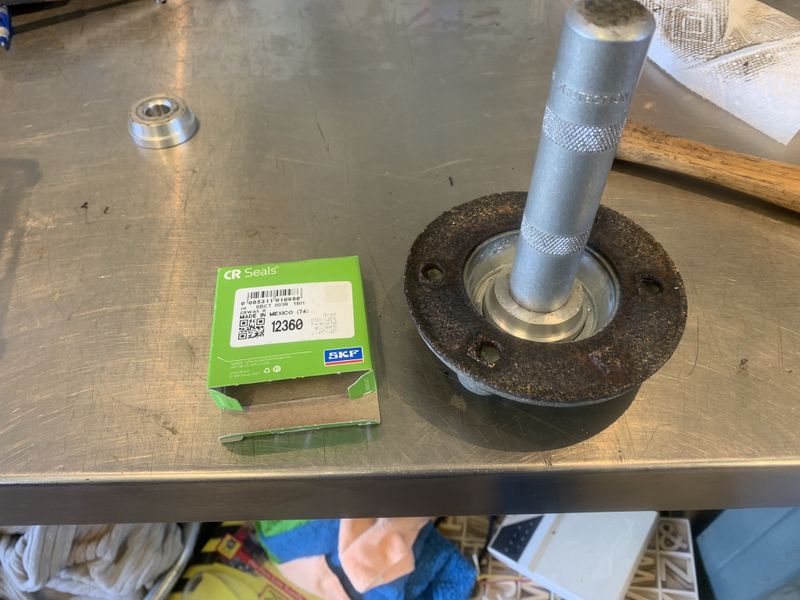
A new grease seal was installed with the proper installation tool. This is an older outer bearing retainer which uses one seal, the newer axles use double seals, they can be easily identified as they have double grease fittings.
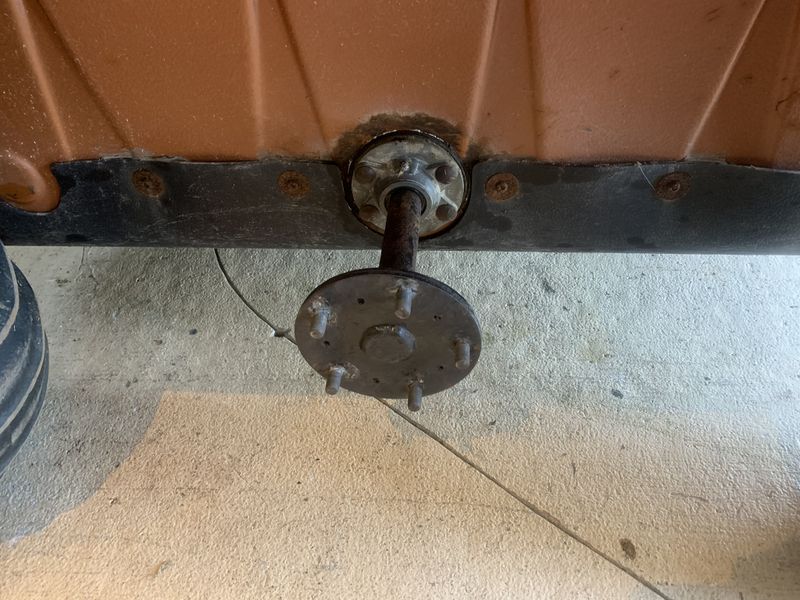
The outer bearing retainer, steel bearing retainer, new bearing (with lock ring facing inside) was slipped into the machine while at the same time the sprockets slid in place as the axel was fed inside. I coated the axel in antiseize to help prevent the bearing races and sprockets from seizing to the axel shaft in the future.
With the axel in place the inner bearing retainer, new inner bearing and outer bearing retainer were installed on the inside frame rail and all 6 mounting bolts tightened.
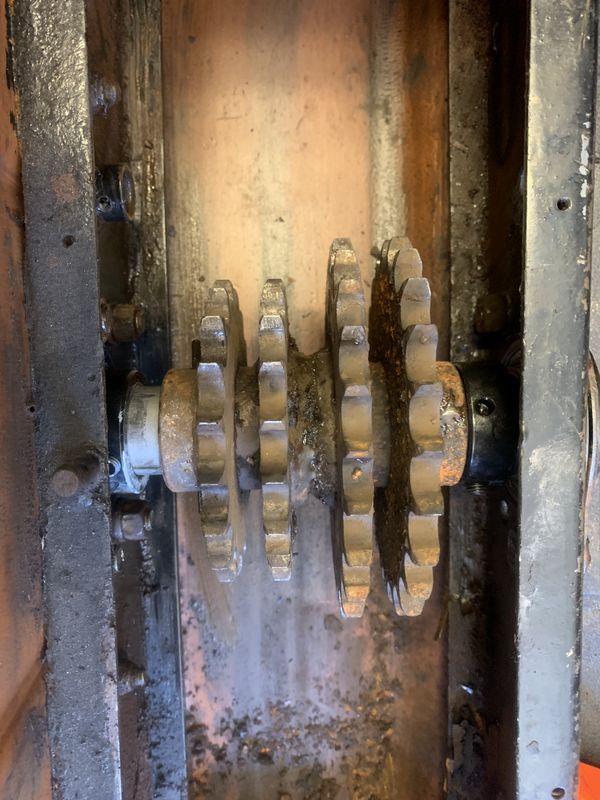
Next I installed the shear pins in the sprocket to affix it to the axel and conformed/adjusted sprocket alignment with the forward idler sprocket, and rearward rear wheel sprocket before tightening the bearing retainer ring set screws.
Fresh grease was pumped into the new bearings though the grease fittings to fill the void and prevent water from sitting in the bearing causing premature failure.
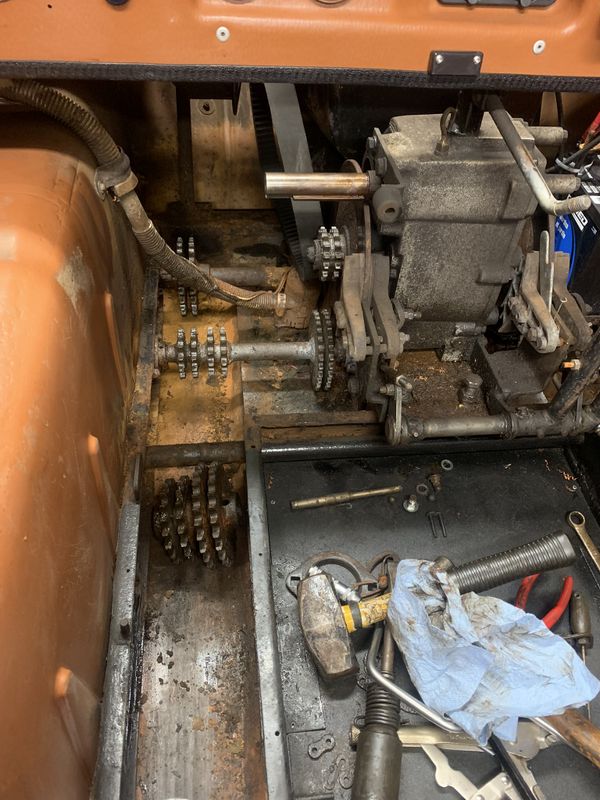
All chains installed, lubricated, and ready to roll!
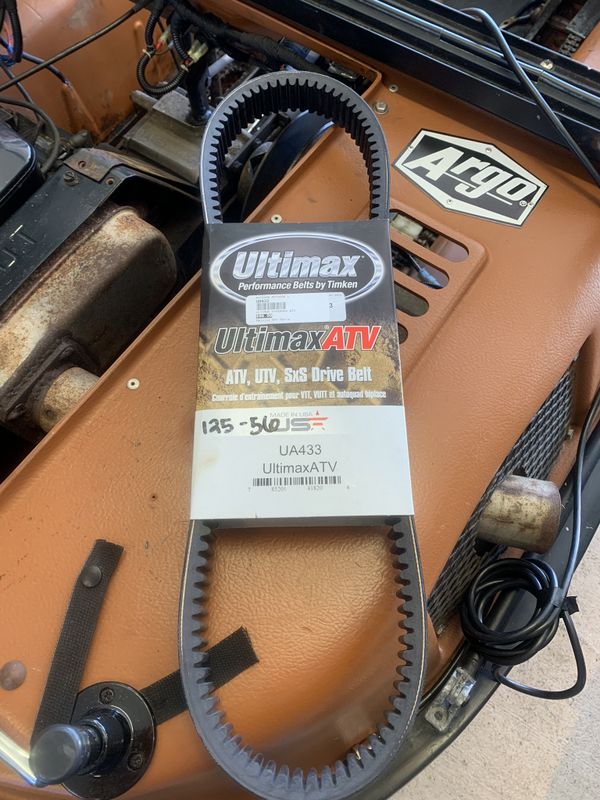
Lastly with my recently serviced secondary clutch reinstalled I installed a brand new drive belt sourced from Melvin's ATV another local Argo dealer in my area who had the part in stock.
Project Pages:
Copyright © 2025 Michael Smith |